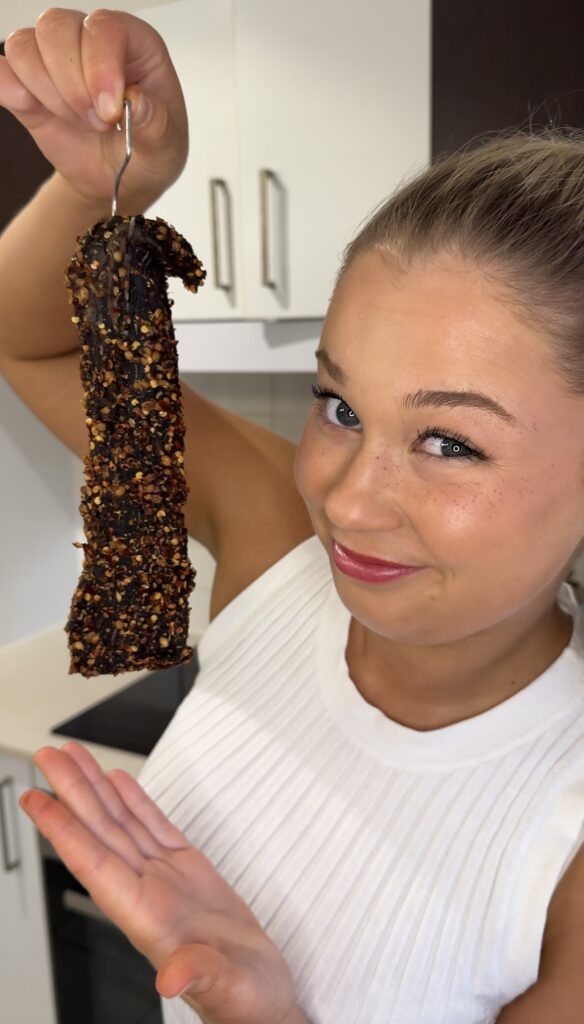
Growing up in a South African family, biltong was something I grew up eating all the time. I remember feeling sooo happy when I opened my lunchbox to see that my mum had packed me some biltong, and trying to explain to my Australian classmates what it is. Everyone has their own preference; some people like it extra vinegary, some like it super dry, some like thick fatty pieces and some like it lean and chewy. For me, I like it a little bit wet with a nice sliver of fat and a touch of chilli, creating a salty, vinegary piece that melts in your mouth! So this is my perfect recipe, and if I do say so myself, it’s a HIT!
I know rump cap is a little fancy and definitely not the cheapest cut to use for biltong, but I absolutely love the flavour and the beautiful fat cap on it. It has that rich, beefy taste with enough fat to make the final result soooo delicious without feeling greasy or overpowering.
This recipe is the result of making biltong over and over again for my very fussy taste-testers! I’ve changed the spice ratios, drying times, chilli levels and vinegar levels over and over again and this is THE best version by far, I hope you enjoy it as much as I do.
Technically this homemade biltong should last around 2–3 weeks in the fridge, but honestly in our family you’ll be lucky if it survives longer than a few days before it’s gone.
I really hope you love making this as much as I do. Once you make your own homemade biltong properly, it’s hard to go back to store-bought, and you will NEVER buy mass produced or pre-packaged biltong again.
Biltong is also one of the best high-protein snacks you can make at home. Because the meat loses so much moisture while drying, the protein becomes really concentrated. Depending on the fat content and how dry you make it, 100g of dried biltong can contain roughly 50–60g of protein.
The best part is that you can make it exactly how you like it. Wetter, drier, fattier, leaner, spicier or more traditional. The main thing is keeping everything clean, slicing the meat properly and drying it slowly without rushing the process.
Classic Biltong vs Chilli Biltong
This recipe has chilli in the spice mix, but it is still very much biltong first and even for non-spice lovers, the chilli is barely noticeable. The chilli gives warmth and depth without overpowering the toasted coriander, cracked pepper and vinegar.
If you want proper chilli biltong, add about 50g of extra chilli flakes or cayenne pepper. If you prefer a more traditional South African flavour, keep the chilli lower and let the coriander and pepper carry the flavour profile.
Also fair warning – once the coriander, peppercorns and chilli start toasting in the pan you will probably sneeze so just steer clear of your biltong haha…
A Few Things Before You Start
Slice with the grain before drying, slice against the grain when serving, and don’t rush the drying time. Good biltong takes patience and airflow!
Homemade Biltong Recipe
Below is the full recipe card with the ingredients, toasted spice mix, vinegar cure and drying method. I’ve written it as clearly as possible so you can follow it step-by-step and adjust the final texture depending on how wet or dry you like your biltong.
Ingredients
Equipment
Method
- Lightly toast the peppercorns, coriander seeds and chilli flakes in a dry pan over low–medium heat for 2–3 minutes, or until fragrant. Keep the spices moving so they warm through without burning.
- Transfer the toasted spices to a mortar and pestle and crush until roughly ground. You want texture, not a fine powder.
- Add the salt, brown sugar and sweet paprika to the crushed spices, then mix well to create the full spice mix.
- Set half of the spice mix aside in a clean bowl. This will be used later to coat the outside of the biltong before drying.
- Prepare the rump cap by removing any silver skin and sinew. Slice the meat into 5–10cm strips, cutting WITH the grain. Trim as much or as little fat as you like.
- Place the meat strips into a non-metal container. Sprinkle over the first half of the spice mix and gently rub it into the meat so each strip is lightly coated.
- Pour over the brown vinegar and Worcestershire sauce, if using. Gently turn the meat through the vinegar mixture so everything is coated, being careful not to overwork or mush the meat.
- Cover the container and place it in the fridge to cure for 48 hours. Rotate or gently turn the meat halfway through so it cures evenly.
- After curing, remove the meat from the vinegar mixture and let any excess liquid drip off.
- Press each strip into the reserved spice mix, coating both sides to create a seasoned crust.
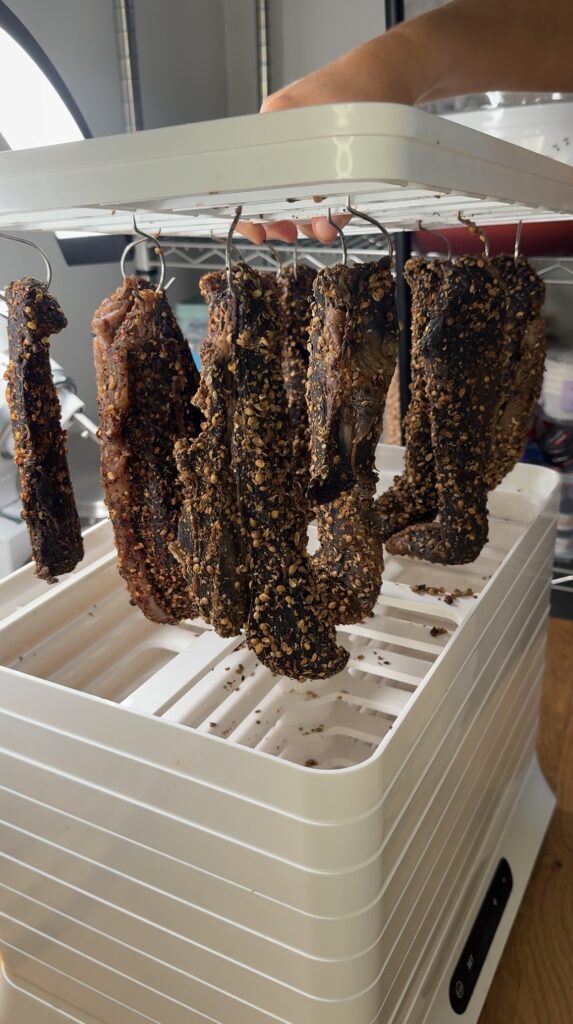
- Hang each strip by the thickest part using hooks, making sure the pieces are not touching.
- Place the meat in a biltong box or dehydrator set to 25°C for 48 hours.
- After 48 hours, switch the dehydrator or biltong box off for 8 hours to help minimise case hardening.
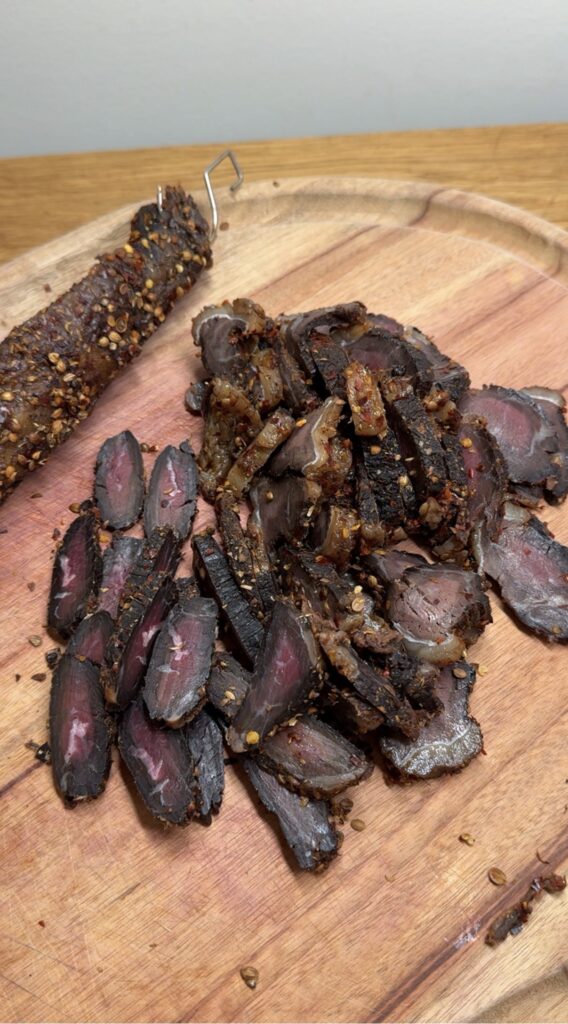
- Repeat the drying cycle for 3–6 days, depending on how wet or dry you like your biltong.
- Once dried to your liking, slice AGAINST the grain and enjoy.
Leave a Reply