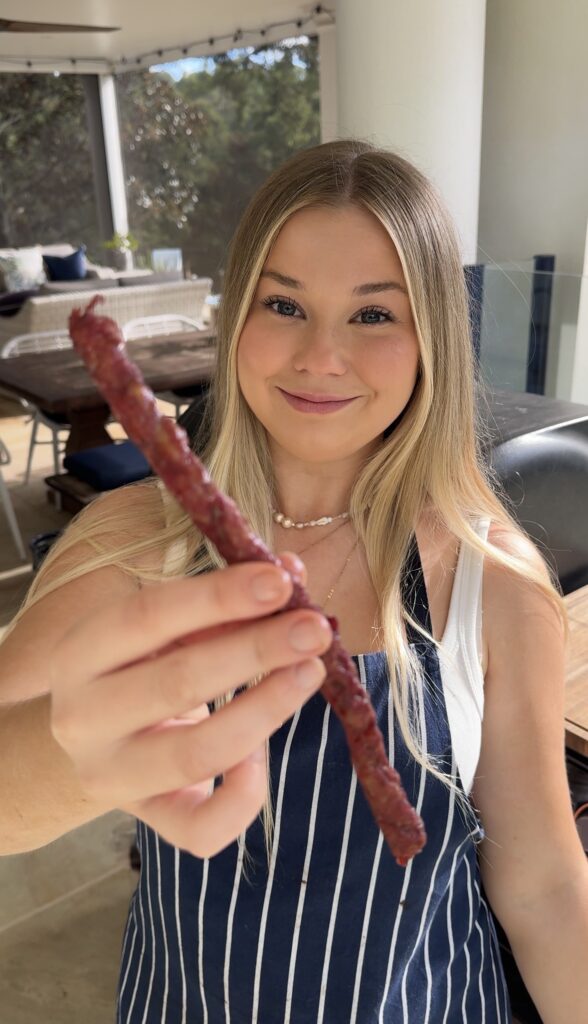
Twiggy sticks are one of those snacks I used to absolutely LOVE! Whether you call them Twiggy sticks, beef sticks, meat sticks, snack sticks or something else entirely, there are so many versions of this kind of snack all over the world (for a reason). I remember eating them in my school lunchbox or as an after school snack, and they were always sooo satisfying.
Before making these I actually looked up the ingredients in a few different supermarket meat sticks because I wanted to recreate that nostalgic flavour. I was unfortunately surprised at how long some of the ingredient lists were, and the percentage of meat in them… With so much information coming out about processed meat lately I started feeling like I had to avoid some of my favourite childhood snacks, but after I tried making these I realised how EASY they were to recreate!
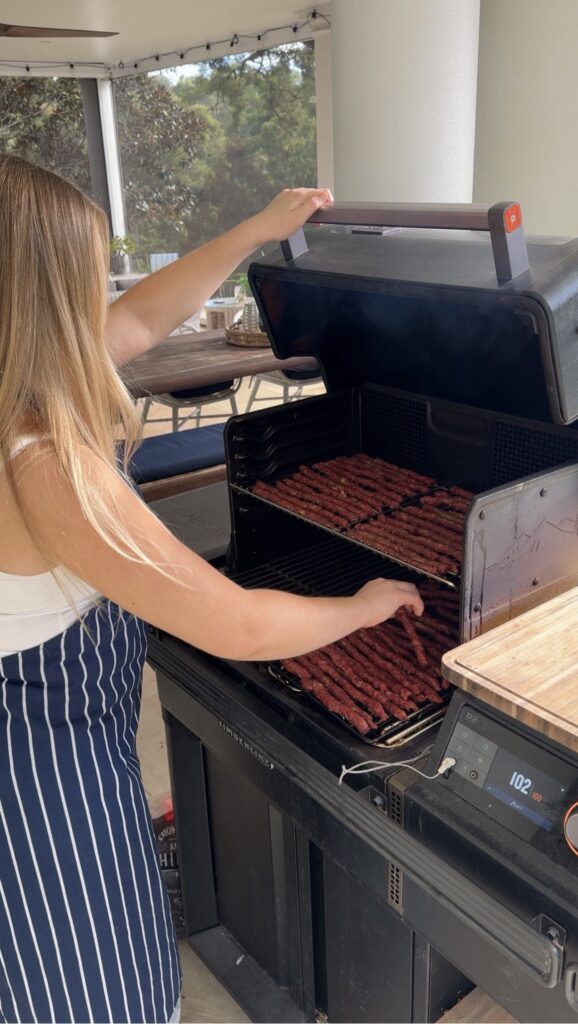
This was my first ever time using a smoker and I absolutely loved it. After a lot of Googling, a few phone calls to my dad and dealing with a couple of spiders, I finally got it going. If anyone has smoking tips or favourite recipies, I would love to hear them! I know you can make similar meat sticks in a Weber too, which I’ll probably try next.
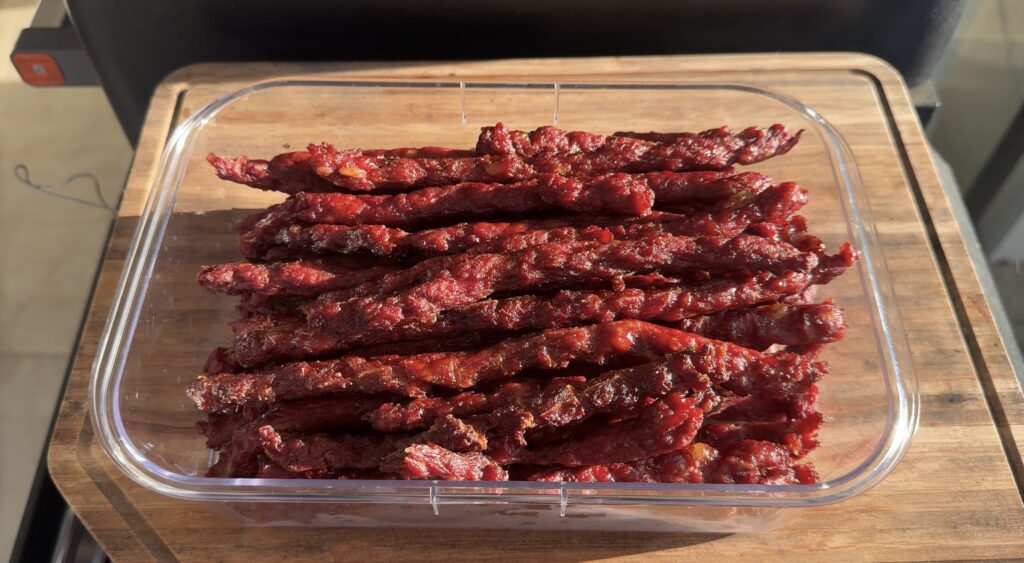
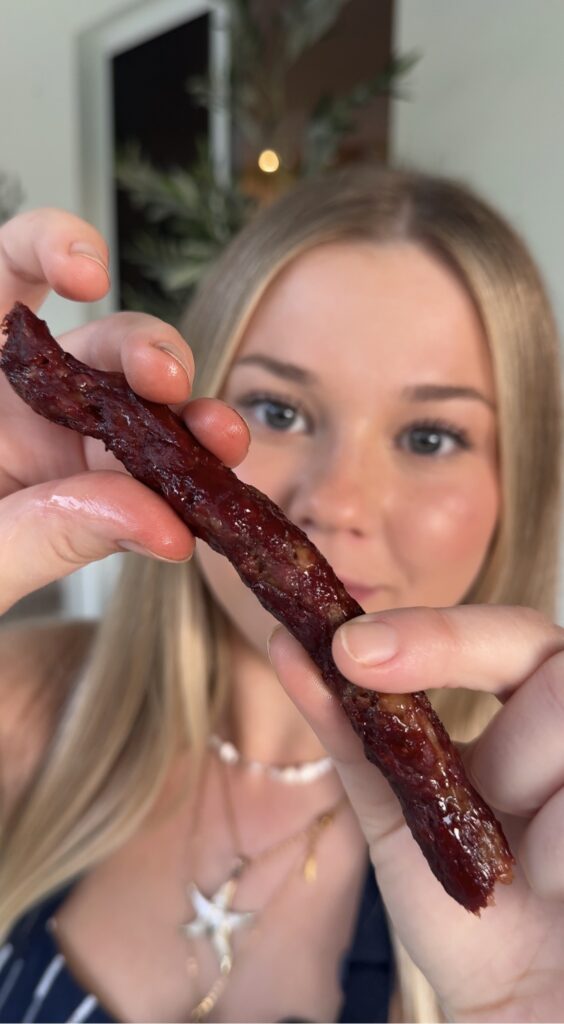
They came out so so delicious and dare I say, way better than the store-bought version.
I made nearly 100 meat sticks for under $50 and they disappeared within a few days after giving them to family. They’re one of the easiest high-protein snacks I’ve ever made and so much fun to do. I’ve linked the meat gun I used on my favourites page if you’re looking for one. Good luck making them!
One of my favourite things about these homemade meat sticks is that they’re actually really simple. There aren’t any complicated ingredients or special techniques, and once you’ve made one batch you’ll wonder why you ever bought them from the supermarket.
The whole point of making them at home isn’t to pretend they’re a health food. It’s to make something that tastes just as good, if not better, while knowing exactly what’s gone into them. You control the meat, the spices, the salt, the sugar and everything else. No artificial colours, no artificial flavours, just proper ingredients.
Homemade Twiggy Sticks vs Store-Bought
Store-bought Twiggy sticks are obviously iconic for a reason, but homemade ones are so much fun because you can make them exactly how you like them. More chilli, less sugar, extra garlic, smokier, beefier, porkier, leaner, fattier — whatever you want. It is basically the same idea as making your own sausages, just in snack-stick form.
I also purposely added a little beef fat and brown sugar. I know some people will be thinking, “Isn’t the point of homemade to make it healthier?” But if you strip all the fat and flavour out, you’re probably just going to wish you’d bought the supermarket version. I’d rather make something that tastes amazing using real ingredients than something that feels like a compromise.
Fair warning though… once you buy a meat gun you’ll immediately start thinking of a hundred different flavours to make next. Extra chilli beef sticks, kangaroo snack sticks, pork and fennel sticks, smoky barbecue sticks, pepperoni-style sticks… good luck making your own because it becomes very addictive haha.
A Few Things Before You Start
Keep everything cold, don’t be afraid to really overmix your mince until it becomes sticky, spray your racks really well with oil & have fun with your flavours! This would be a great recipe to make with kids.
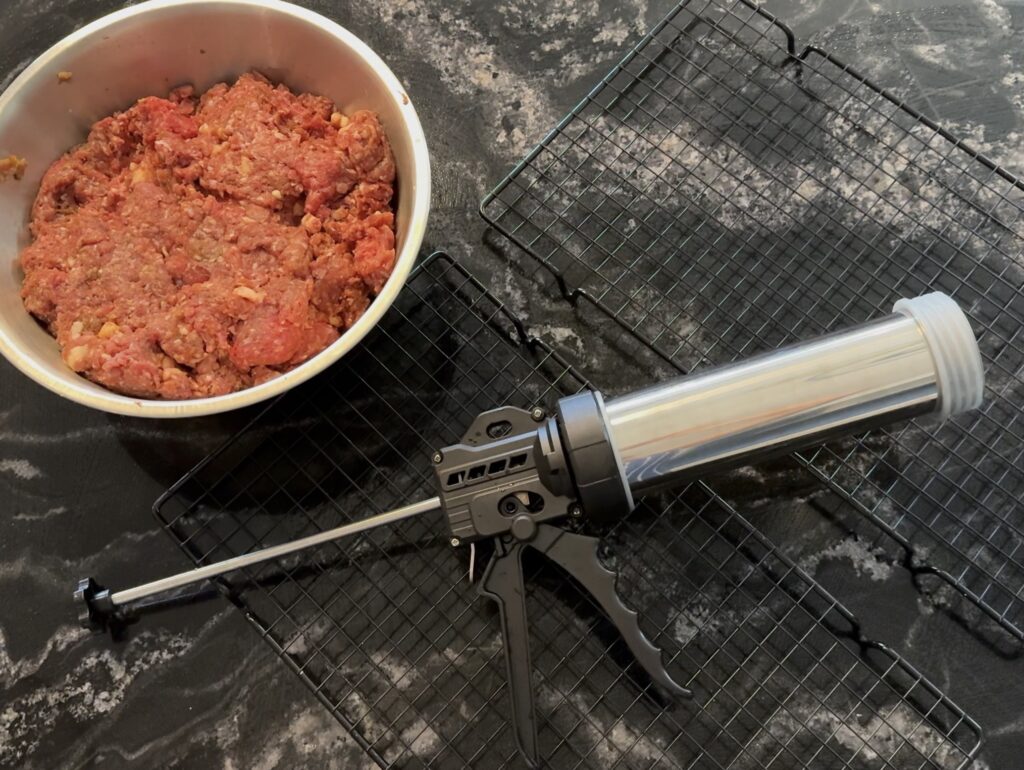
Meat Gun Link
This is the meat gun I use! I use it for all of my meat snacks including my homemade Twiggy sticks – if you don’t have one, using the same one as me from Amazon will make sure my recipe and timings are accurate with your cooking at home.
Homemade Twiggy Sticks Recipe
Below is the full recipe card with the ingredients, seasoning mix and smoking instructions. I’ve written it as clearly as possible so you can follow it step-by-step, but once you have the basic method down, you can absolutely use it as a base recipe and make your own flavours!
Ingredients
Equipment
Method
- Preheat your smoker to 75°C (167°F).
- Add the beef mince, pork mince and beef fat to a large mixing bowl. Mix until evenly combined.
- Add all of the seasonings, sugar and garlic and mix thoroughly, deliberately overmixing until the meat becomes sticky and tacky. This helps the meat bind together so your snack sticks won’t fall apart.
- Lightly spray or rub your smoker grates with oil. Also lightly grease the inside of your meat gun.
- Form the meat mixture into cylindrical logs and pack them tightly into the meat gun. You can use either your hands or the plunger, but make sure there are no air pockets or gaps, as these can cause the snack sticks to split.
- Slowly pump the meat mixture onto the prepared smoker grates, forming long meat sticks. If your mixture has been mixed well enough, the sticks should hold together nicely.
- Hour 1: Smoke at 75°C (167°F).
- Hour 2: Increase the smoker to 80°C (176°F).
- Hour 3: Increase the smoker to 85°C (185°F). The snack sticks should now be starting to firm up and take on a deep red colour.
- Final Stage: Increase the smoker to 95°C (203°F) and continue cooking until the snack sticks are fully cooked through and firm, adjusting time depending on the thickness of your sticks – 4 hours at these temperatures should work perfectly if you used the same meat gun and attachment as me. Keep a close eye on them during this stage, as the beef fat can begin to render at this temperature.
- Remove from the smoker and allow the snack sticks to cool completely before eating. They will continue to firm up as they cool, creating that classic chewy texture.
- Store in the fridge and enjoy!
Leave a Reply