
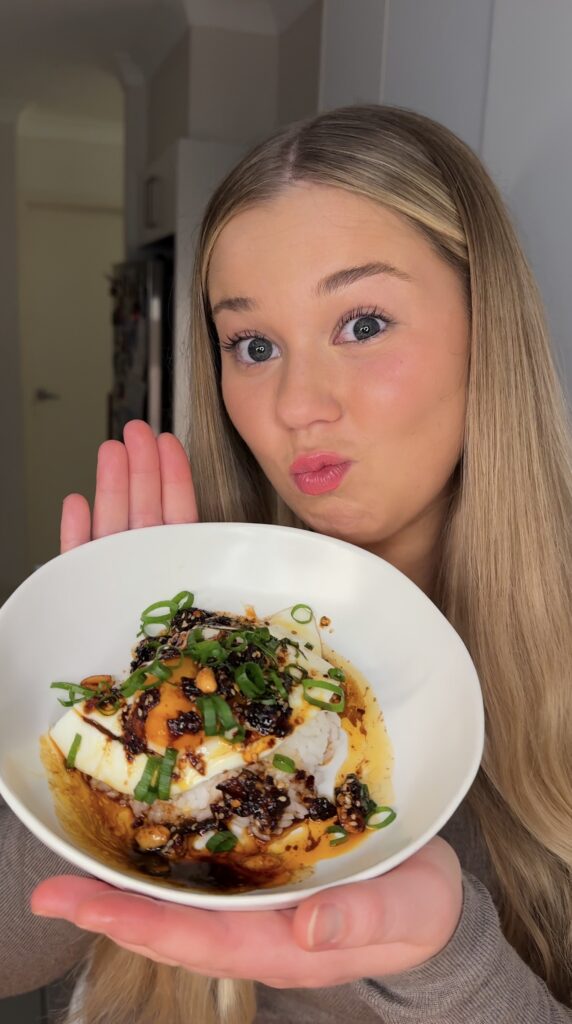
This chilli crisp is probably one of the most nostalgic recipes on my website! Back when Erin’s Sunday Kitchen was a meal prep business, one of my most popular dishes was my Vermicelli Chilli Crisp Bowl. It was a really healthy bowl packed with chicken breast, vermicelli noodles, cucumber, carrot and pickled cabbage, but if I’m honest, I know it was only that popular because of the chilli crisp, and my clients would ask about it all the time!!
This homemade chilli crisp is garlicky, nutty, savoury, slightly sweet and packed with crunchy little bits throughout. It has soy sauce too, meaning it’s literally the entire sauce in one, without anything needed to be added. It’s also not too spicy, but of course you can always add more chilli!
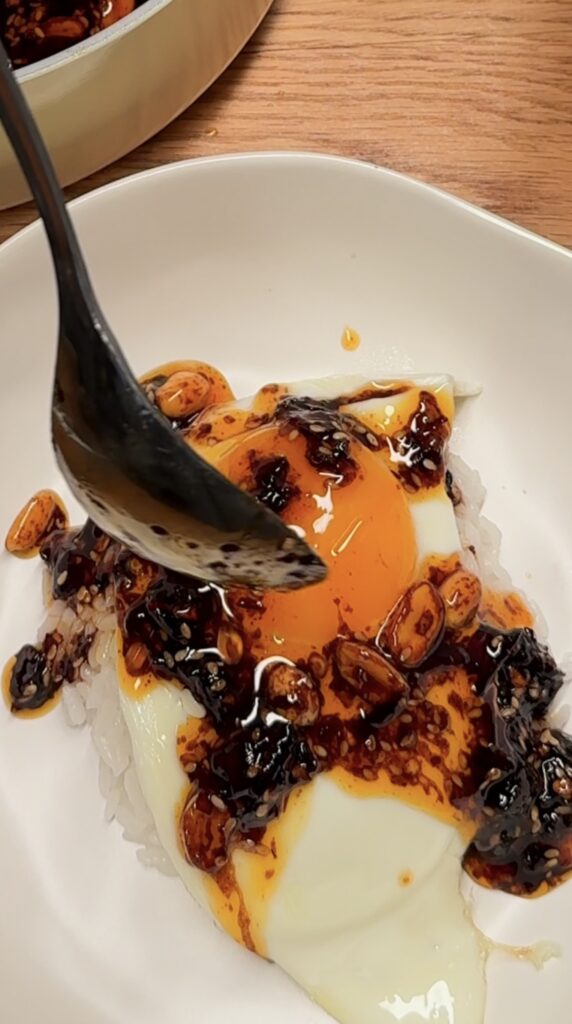
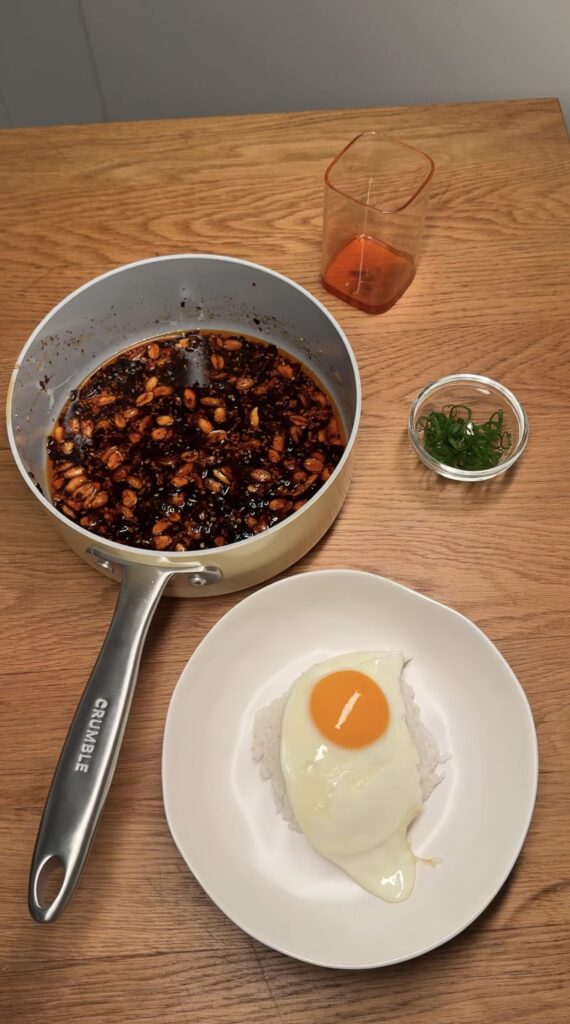
Once you’ve got a jar of this in the fridge, it can go on pretty much any protein. Eggs, chicken, steak, salmon, rice bowls, noodles, dumplings… honestly whatever you want. It instantly levels up your dish with only 30 minutes of work at the start of the week!
It should last around a week in the fridge, although I doubt it’ll make it that far. Every time I make it, I end up finding excuses to put it on absolutely everything because it’s sooo good.
It really is super easy to make your own chilli crisp at home! The only thing you need to be careful of is the hot oil. When I make this recipe I’m definitely not wearing thongs (incase you’re not Australian, I mean FLIP FLOPS!) and I’m watching it like a hawk. Firstly because I don’t want an oil fire, and secondly because I definitely don’t want hot oil splashing on me! Things can turn quickly in this recipe!
Another thing to think about is what type of pan you use. I used a really good non-stick pan for this recipe and it made life so much easier. Nothing stuck to the bottom, nothing burnt and cleaning up afterwards was super easy.
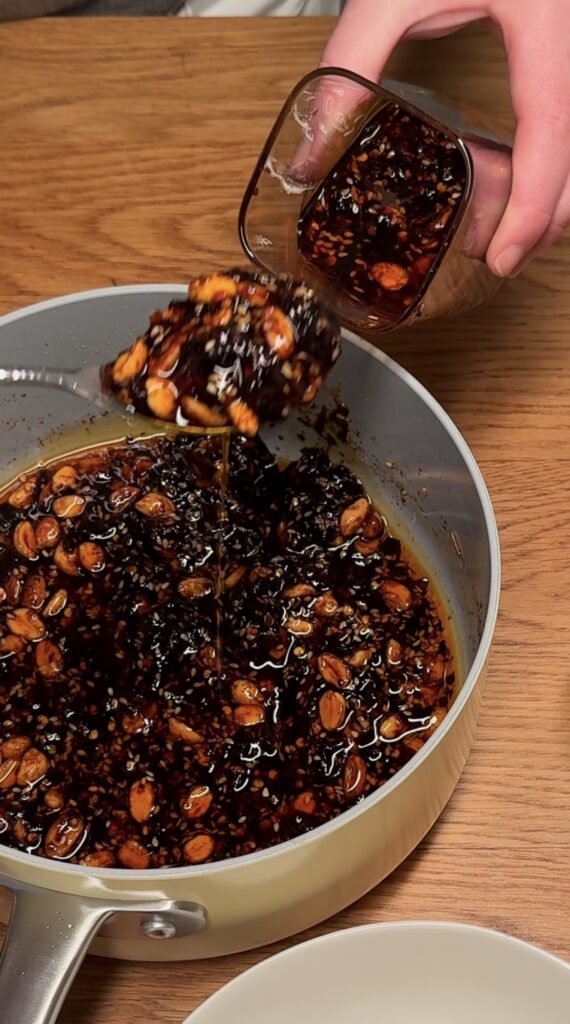
Unlike a plain chilli oil, chilli crisp is all about texture. Every spoonful should have crunchy garlic, toasted sesame seeds, chilli flakes and little crispy bits mixed through the oil. The crunchy bits are honestly the best part.
This version uses peanut and sesame oil, which gives it a really deep nutty flavour. Combined with soy sauce, garlic and just a little sweetness, it’s the same flavour profile that made my Vermicelli Chilli Crisp Bowl one of the most popular meals I ever sold.
Chilli Oil vs Chilli Crisp
People often use the terms interchangeably, but chilli oil and chilli crisp are actually pretty different. Chilli oil is mostly about the flavoured oil itself, whereas chilli crisp is all about the crunchy bits mixed through it.
The garlic, sesame seeds, chilli flakes and crispy pieces are what make chilli crisp so addictive. You want every spoonful to have both oil and crunch.
This recipe is only mildly spicy, so if you like things really hot feel free to increase the chilli flakes. Personally, I prefer a chilli crisp that goes with everything rather than one where chilli is the only thing
Because this is a chilli crisp and not just a plain chilli oil, the goal is basically to get everything right on the edge of burning without actually burning it. Make sure you let things cool down before adding ingredients like the garlic and sugar because things can burn very quickly if the oil is too hot.
I hope you guys enjoy this chilli crisp. It’s an ode to my old Vermicelli Chilli Crisp Bowl back in 2024 and one of the recipes I’ve wanted to share for ages. Once you make your own chilli crisp once, you’ll be making it alllll the time.
A Few Things Before You Start
Watch the oil carefully, don’t rush the process and remember that golden garlic is delicious but burnt garlic is not. Take your time and keep a close eye on it!
Homemade Chilli Crisp Recipe
Below is the full recipe card with all the ingredients and step-by-step instructions you’ll need to make your own homemade chilli crisp.
Ingredients
Equipment
Method
- Add the peanut oil to a saucepan over medium-high heat. Keep a close eye on it as the oil heats.
- Test if the oil is ready by adding a small piece of onion. The onion should gently sizzle with small bubbles around it, but it should not immediately deep fry.
- Once ready, add the sesame oil and stir to combine.
- Carefully add all of the onion and cook over medium-high heat for 4–6 minutes, stirring frequently, until the onion is softened and lightly golden.
- Add the peanuts and continue cooking for 3–5 minutes, stirring constantly and keeping a close eye on the colour.
- Turn off the heat and allow the oil to cool for just a few minutes.
- Add the garlic, sesame seeds and chilli flakes, then return the pan to medium heat.
- Cook for a couple of minutes, stirring constantly, until everything is a deep golden brown – but not too dark! The residual heat will continue to crisp things up.
- Remove from the heat.
- Stir for several minutes until the mixture has cooled significantly.
- Once mostly cooled, stir through the brown sugar well, then add the white pepper and soy sauce until well combined.
- Transfer to a clean, sterilised jar and allow to cool completely before sealing.
- Store in the fridge for up to 7 days and enjoy!
-
Your comment is awaiting moderation.

06ii1p

Leave a Reply